


Welcome, The Data Dude here!
This is my first article on the blog, and it happens to be nothing about data science. If you are not interested in Web Development, JAMStack or DevOps I am sorry to disappoint you. Hopefully, you will read along at a later point in time.
For those of you still hanging in, here is some background knowledge on why I want to tell you all about deploying a headless CMS to AWS Lightsail
Motivation
I had to set up a CMS system for a side project a while ago. I decided that this should be my first adventure with the world of JAMstack meaning that the CMS is decoupled from the actual frontend. The idea of JAMstack is that you can deploy the frontend as flat HTML, CSS, and Javascript files to a CDN to achieve speed and global reach. I was looking for a robust but still flexible content model system with a good REST API (not necessarily GraphQL) to fulfill these requirements.
Since PHP, and the LAMP stack in general, is my go-to programming language I have naturally worked with WordPress many times. What I have learned over the years about WordPress is that 1) it is not good at handling large datasets 2) the content model is flexible but not robust 3) the API has improved a lot over the years but is still not fast. Therefore I was looking for an alternative CMS with API first approach.
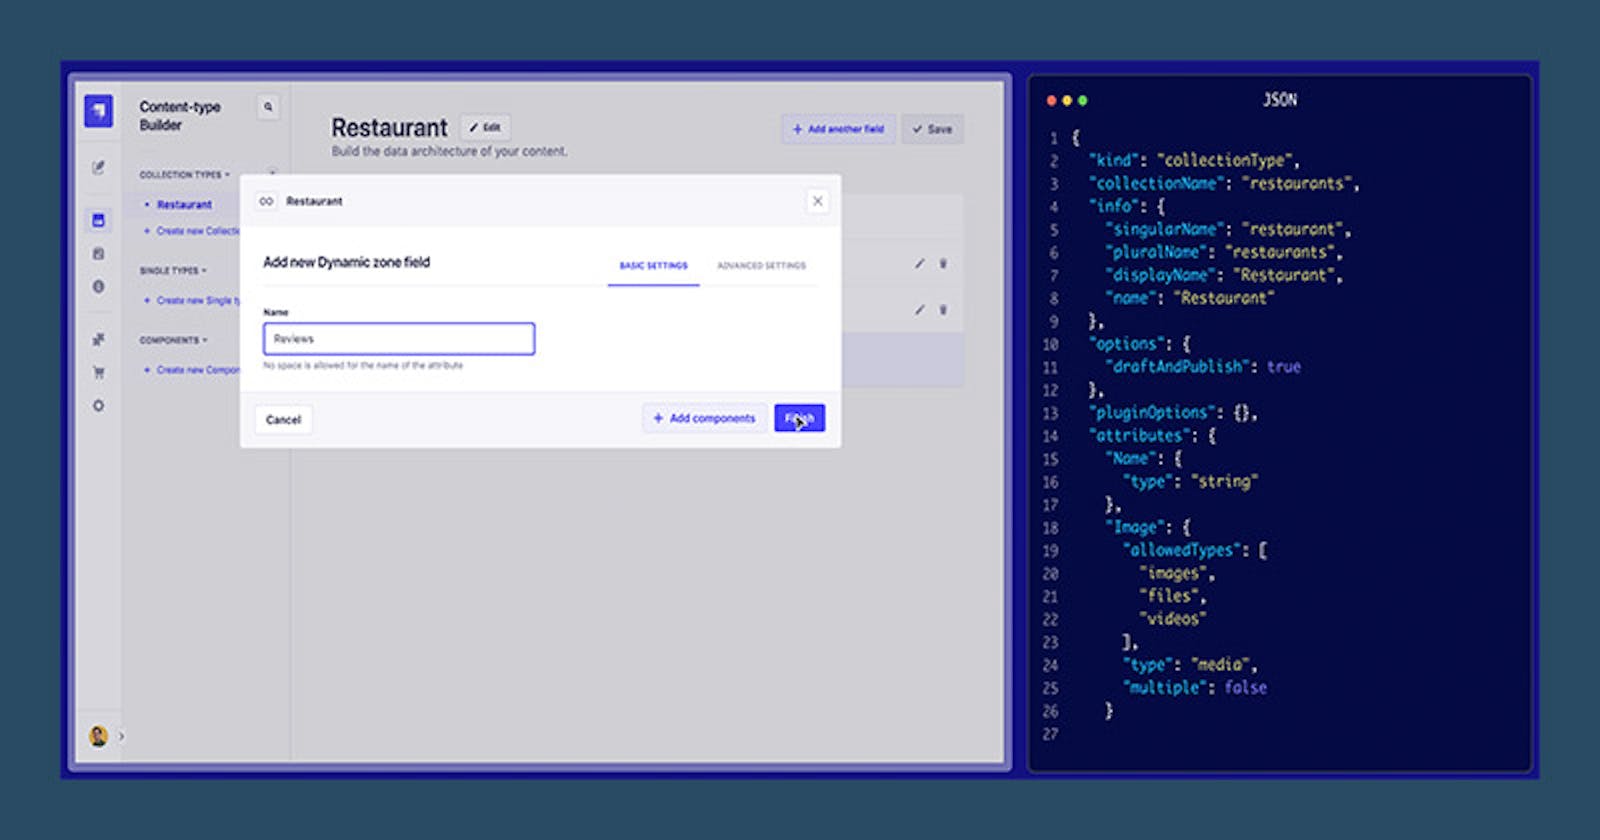
After some time researching and testing different solutions (StoryBlok, ContentFul, GraphCMS) I decided to go with Strapi.
- Strapi is open source and both interface and the API can be modified easily. Everything in JavaScript
- Free to use and no restrictions on the number of items that can be stored
- Flexibility in terms of database choice. I prefer MySQL and went with the managed solution from AWS (Lightsail). You own the data!
- Used by many big organizations such as Delivery Hero, Toyota, Societe Generale and many more
- More than 44.000 stars on Github and an active community supporting and developing Strapi. It looks like they are also working on commercializing Strapi but who am I to judge.
Since you are reading this article I assume that you are already convinced that Strapi is here to throw WordPress off the throne as the most used CMS in the world. So let's get started.
Prerequisites
I assume you already have a Strapi installation running on your local computer and are using Github for version control. You are also able to do basic navigation in a UNIX-based system such as Ubuntu Linux.
If you are not quite there yet the Strapi development team is really active on YouTube so if you are starting from scratch this is a good place to begin. You can also find the latest Strapi documentation here. When you are ready to deploy head back to this article.
Last but not least you should set up an account on AWS. The setup we will build will cost approximately 22.5 USD per. month without taxes if you decide to go with the managed MySQL instance from Lightsail. It is definitely possible to do it cheaper, but as mentioned initially, I want to have a fairly robust setup and that does not come for free. Remember to look carefully at the pricing before you start using any services in your AWS account.
Deployment Process
Here is an overview of what we are going to build. You already have the development environment on your computer and the Github repository to which you push files.
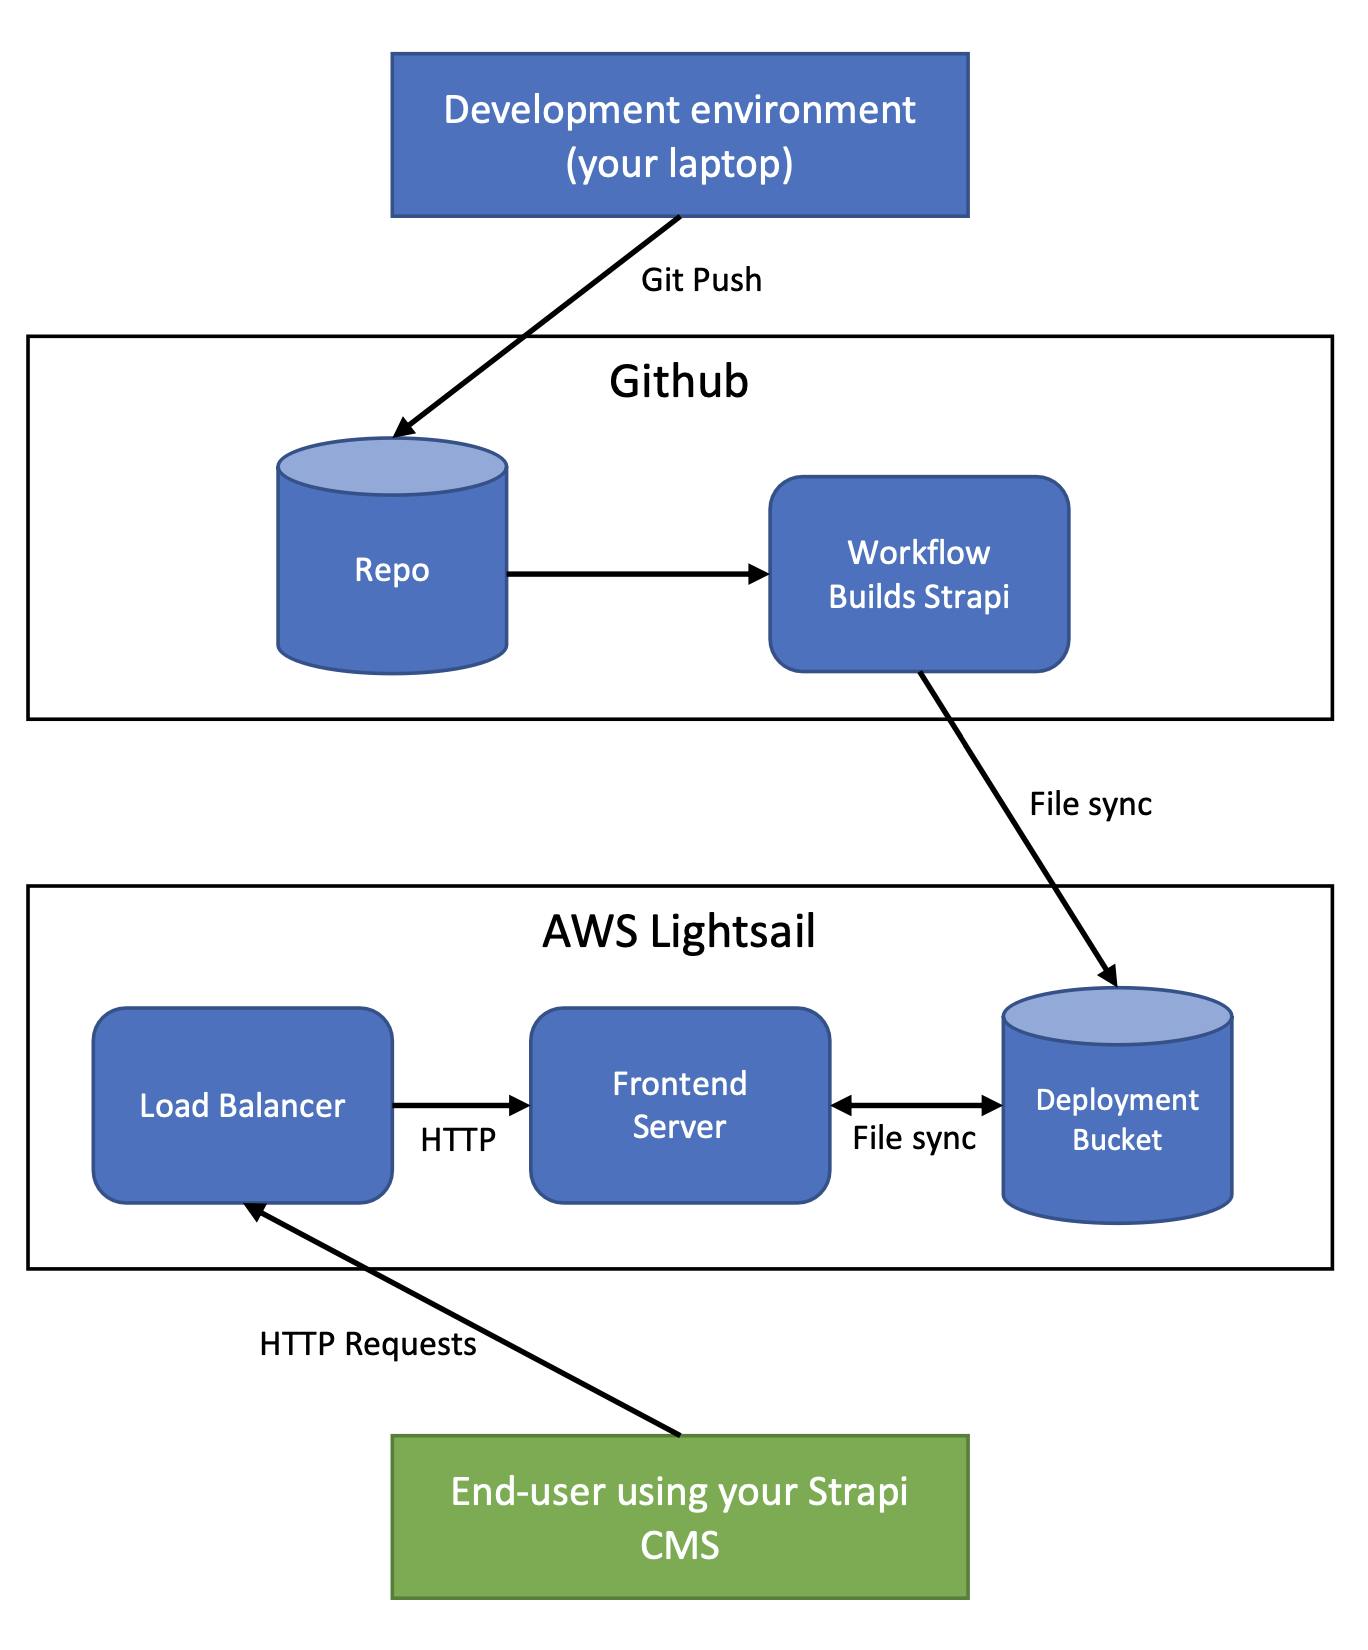
The setup essentially involves five different moving parts 1) The Git repository in Github 2) a Github workflow that builds and publishes the project to an S3 bucket 3) the S3 deployment bucket 4) one or several frontend servers 4) a load balancer to handle the SSL certificates and distribution of the traffic.
The first step is to create the S3 deployment bucket. This bucket will hold all the Strapi files AFTER it has been built. We will use the AWS CLI to synchronize the files to the bucket as well as from the bucket to the frontend servers in a later stage.
Setting up the S3 deployment bucket
- Navigate to the AWS Lightsail interface and click Storage
- In the upper right corner click Create bucket
- Choose a Bucket location. Consider this step carefully you are not able to change this later and your choice will have an impact on the network latency and pricing. If you are located in the US consider us-east-1 or us-west-2, located in Northern Europe choose eu-north-1 and elsewhere in Europe go with eu-central-1 in Frankfurt, Germany. I have no experience with regions in Asia but there are plenty of articles on the internet writing about choosing the best cloud region.
- Choose the cheapest storage plan (currently: 5 GB, 25 GB transfer). That will be enough to hold our little application.
- Come up with a unique bucket name. It will make your life easier if this is something that you can remember
- Click Create bucket (please notice the cost)
Create a project folder
- Click at your newly created bucket
- In the top you will see six menu points. Click Objects to create a new folder in your bucket with your project name. I went with the domain name for my Strapi CMS.
Generate access keys
- Go Permissions in the navigation bar.
- Scroll to the bottom and click Create access key
- Follow the instructions and keep the access key secret in a safe place. You will need this later when setting up the build process with Github Actions
- Notice the bucket domain in the top. It will look something like unique-bucket-name.s3.region-identifier.ama... You also need this for later.
Create a Github Action to build and deploy Strapi
Coming from the PHP/LAMP world it was surprising to me that Strapi needs to be compiled/built before deploying. At first it sounded very complicated and I researched on many different solutions to run the CI/CD process. It seems that Jenkins, CircleCI, Buddy and Gitlab are some of the most commonly used platforms. All of them are paid services so I was glad to discover that Github launched it's Actions product in late 2019 and with 2.000 free build minutes per. month.
Github actions can run on specific events in your workflow. We will set up an action to run every time we push to the master branch of the repository.
Start by creating a folder called .github/workflows in your repository. Here we define our workflows in YAML files. We only need one workflow so create a file called prod-deployment.yml and paste the following code into it.
name: Production Deployment
on:
  push:
    branches: [main]
jobs:
  build:
    runs-on: ubuntu-20.04
    steps:
    - uses: actions/checkout@v2
    - name: Install and setup Node version
      uses: actions/setup-node@v2
      with:
        node-version: '14.19.1'
        cache: 'npm'
    - name: Setup the AWS Cli
      uses: aws-actions/configure-aws-credentials@v1
      with:
        aws-region:
        aws-access-key-id:
        aws-secret-access-key:
    - run: npm ci
    - run: NODE_ENV=production npm run build --if-present
    - run: aws s3 sync . s3:// --quiet --delete
Add the details from the S3 deployment bucket you created in the previous step. On the last line starting with -run: aws s3 sync . s3://... you will need to add the path the the folder you created inside the deployment bucket.
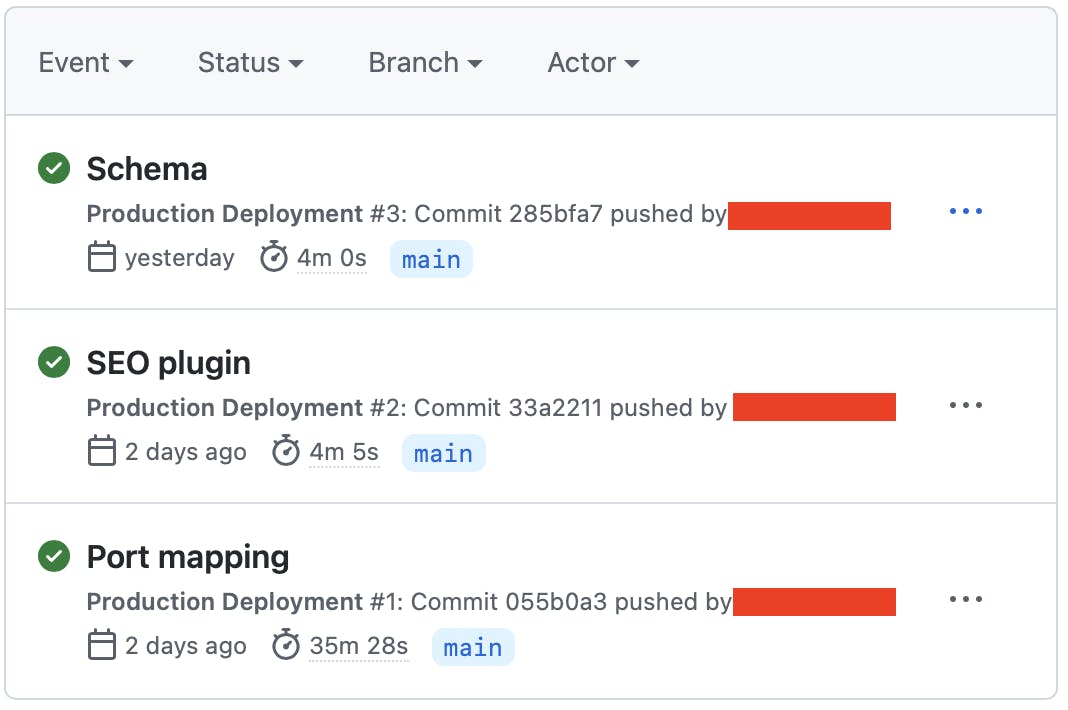
Push this file and go to the repository page on Github. Click Actions in the top navigation bar and you should see a the build process running. Here is how my Actions logs look after three commits.
Next step is to setup a Lightsail instance that can run and serve the Strapi application. If you are not an DevOps expoert and your are deploying a mission critical application I recommend at all time to consult with experts.
Install NodeJS + PM2 and Strapi on Ubuntu
Running NodeJS in a production environment is not like running NodeJS on your local computer. When running applications in production your main focus is up-time. Because of that I always recommend using a deamon procces manager such as PM2.
Start an Instance
- Go the Instances page in your LightSail console and click *Create instance
- Choose the same region as your deployment bucket and under OS Only pick the operating system your are most comfortable with. I picked Ubuntu 20.04 LTS. LTS stands for long-term-support.
- Pick and instance size. Running Strapi without the build process (handlede by Github) the smallest instance with 512 mb memory is sufficient
- Pick a funny name for your server and click Create instance. Again notice the pricing before your click.
Install Node v14.19.1
- When your server has started click the small console logo to start the terminal window from your browser. You can also connect from your local computer through SSH (Mac Terminal or Windows Putty).
- By default you will be logged into the ubuntu user. To acquire root previligies enter
sudo -s - It is good practice to update the local APT package repository as well as the programms installed on the server before proceeding. Type in
apt-get updatefollowed byapt-get upgrade -y
Finally we are ready to install NodeJS. I am still an novice in the world of NodeJS but from what I could read on the internet it is a good idea to manage the node versions with a bash script called NVM. You can install it directly from the internet by typing
curl -o- https://raw.githubusercontent.com/nvm-sh/nvm/v0.39.1/install.sh | bash
When the installation has finalized please restart the bash shell: exec bash.
We can now install Node. Remember in the prod-deployment.yml file that we specified the exact Node version (v14.19.1) to be used. We will need to install the exact same version onto the server. It might work with other versions as well but it is good practice to always use the same software versions throught the build and deployment process.
Type in nvm install 14.19.1 in the console. If you see the right version when writing node -v we are ready to move to next step.
Setup PM2 Process manager
PM2 is the most commonly used process manager for NodeJS applications. The job of the PM2 deamon manager is to ensure your applications is always running. Install it by typing in npm install pm2 -g. The -g flag stands for global and makes PM2 available to all Node applications on your server.
It is now time to setup the configuration files (ecosystems files) for PM2. I decided to store them in /etc/pm2/conf.d/ but they can basicly be anywhere on your server where it is not publicly available. Create a file with appropiate name and paste in the content below. Remember to change almost all the values to fit your needs.
In line eight we have added the watch option to PM2. Every time PM2 notices a change to one of the files in your application it will restart the server.
module.exports = {
    apps: [
        {
            name: 'APPLICATION NAME',
            cwd: '/var/www/DOMAINNAME.com',
            script: 'node',
            args: 'server.js',
            watch: ["src","config","database","public","build","exports"],
            watch_delay: 5000,
            restart_delay: 5000,
            ignore_watch: ["public/uploads"],
            exp_backoff_restart_delay: 100,
            env: {
                NODE_ENV: 'production',
                HOST: '0.0.0.0',
                PORT: 80,
                APP_KEYS: '',
                API_TOKEN_SALT: '',
                ADMIN_JWT_SECRET: '',
                JWT_SECRET: '',
                DATABASE_HOST: '',
                DATABASE_PORT: 3306,
                DATABASE_NAME: '',
                DATABASE_USERNAME: '',
                DATABASE_PASSWORD: '',
                DATABASE_SSL: true,
                DATABASE_TZ: 'UTC',
                PUBLIC_URL: ''
            },
        },
    ],
};
Remember to add your database details to the ecosystems file. I recommend using the managed MySQL database that you can setup in AWS Lightsail. It is basicly plug-and-play so no need to walk you through that.
Synchronize files from deployment bucket
Before we can start our application we need to copy all files from the deployment bucket to the server. You can see how to install and set it up here. CLI stands for command-line interface and is just a Python program that you can use to communicate with the AWS cloud. That means - be careful what you type in.
Before moving forward we need to give permission for this instance to copy files to and from the bucket. Go to the Lightsail interface --> Storage --> Click on your bucket.
Under Permissions click on Attach instance and select the instance you created with a funny name.
Now we are ready to go !
Here is how we copy files from S3 bucket to server
- Create local folder where the files reside. I suggest /var/www/domainname.com
- Sync files from S3 to folder:
aws s3 sync s3://bucketname/bucketfolder /var/www/domainname.com --delete
This command will take all files and folders in the bucket and copy them to your server. If there for some reason is a file on the server which is not in the bucket it will be deleted. You heard right ! This command can delete files meaning that you should be extra careful typing incorrectly.
Setup automatic file transfer
Type in crontab -e and copy paste the command from previous step into the file. Prefix this to the line 0,20,40 * * * * /usr/local/bin/ so you end up with this
0,20,40 * * * * /usr/local/bin/aws s3 sync s3://bucketname/bucketfolder /var/www/domainname.com --delete
Every 20. minutes the server will synchronize the files from the bucket and PM2 will take care of restarting the application.
Start your application
Go to the folder were you located the ecosystems file. Run pm2 start ecosystems.filename.js. Now the application is booting in the background. If you want you can follow along with pm2 monit
If everything went successfully you can take your instance IP address and paste it into your browser. If you see something similar to the pictore below your've done good - congratulations.
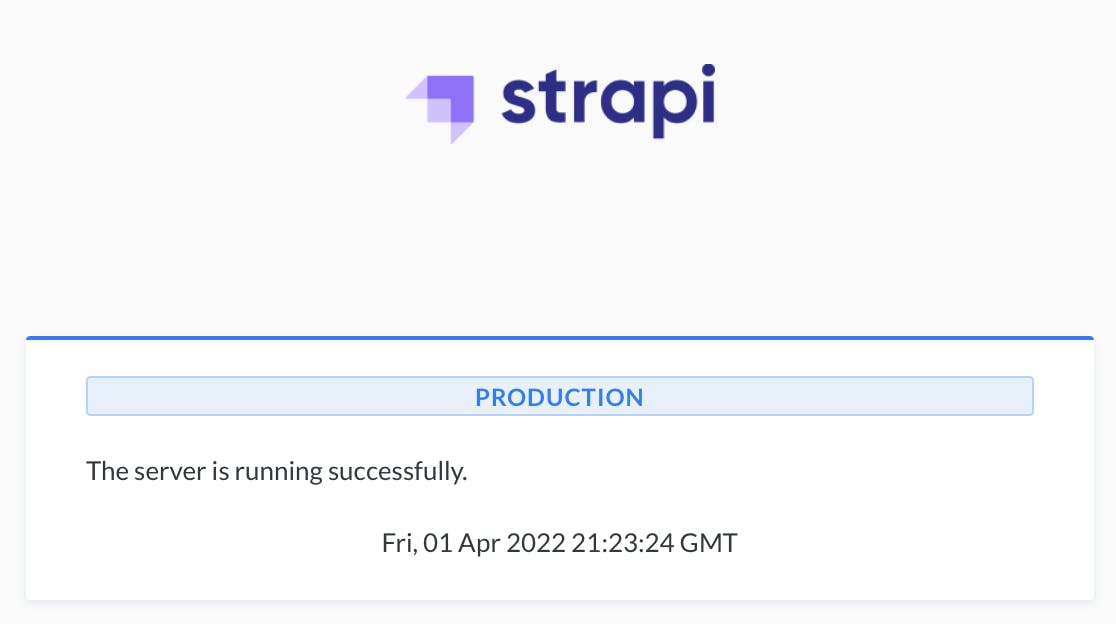
Point a domain name to your instance and you are good to go.
Some reflections on the architecture
As you might have noticed we have left out the load balancer of the setup. It is fairly easy to set up and will increase the robustness of your setup significantly since you are able to have multiple servers running your application. You can also add a SSL certificate to the loadbalancer so the communication between client and datacenter gets encrypted. I prefeer this method to installing the SSL certificate myself on the servers.
One of the benefits of cloudcomputing is how easy it is to scale from one to many servers. What you need to do is just to take a snapshot of the instance we created in this article. The snapshot can be booted on a new server and suddenly you have two identical servers ready to serve your end-users with your Strapi CMS.
Handling multiple domains on same server
Either with nginx or apache proxy server you can have multiple applications running on the same server but with different domains.
If you have any recommendations on how to strengthen/improving this setup on AWS Lightsail please drop a comment below.